
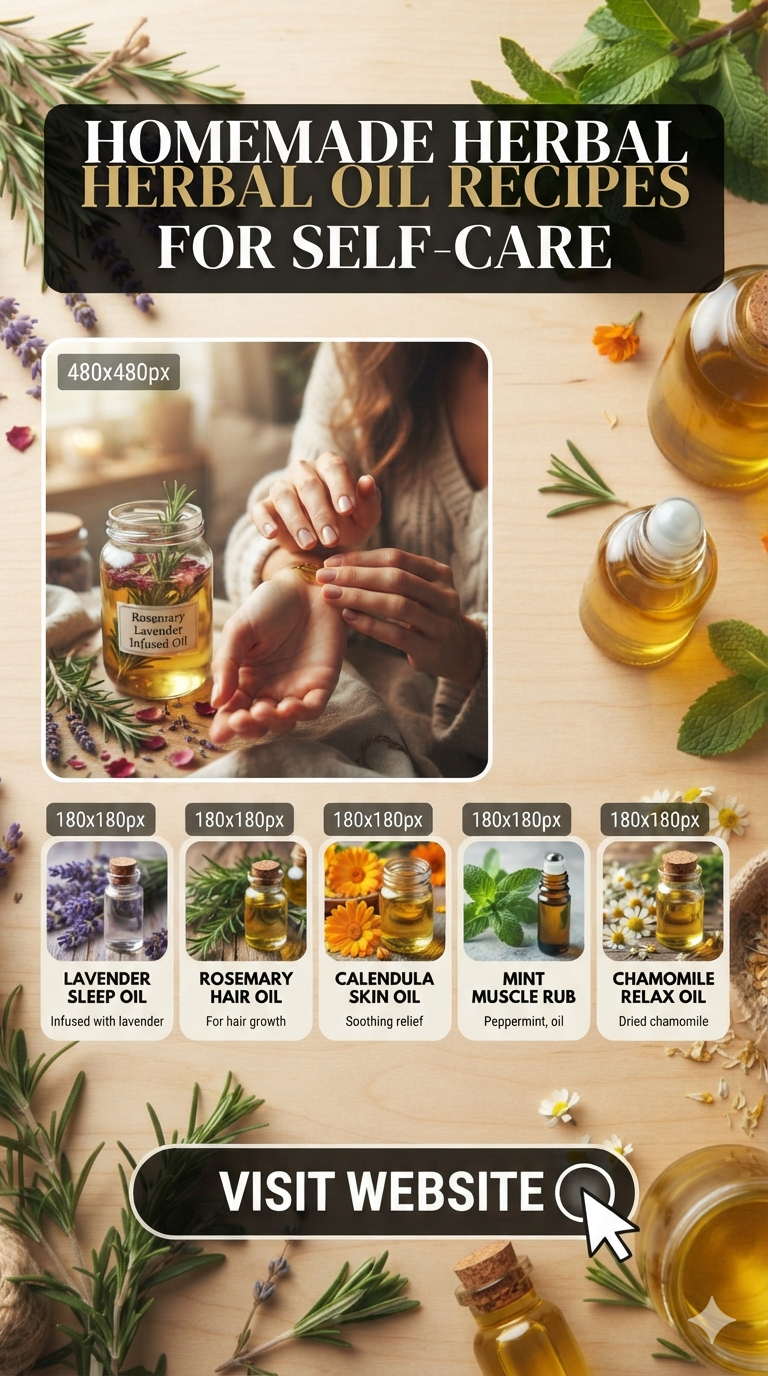
Homemade Herbal Oil Recipes for Self-Care
The Alchemy of Infusion: A Comprehensive Guide to Homemade Herbal Oils for Holistic Self-Care
In an era dominated by synthetic fragrances and mass-produced skincare, the ancient art of herbal oil infusion offers a grounding, restorative path back to nature. Crafting your own herbal oils is more than just a DIY project; it is an act of reclamation. It is the process of extracting the very soul of a plant—its volatile oils, therapeutic resins, and healing nutrients—and suspending them in a medium that your skin can readily absorb.
This guide is designed to be your definitive companion in the world of herbal oil making. We will explore the science of extraction, the profiles of various carrier oils, the specific properties of medicinal herbs, and, most importantly, a vast library of recipes tailored for every self-care need—from easing sore muscles to cultivating a radiant complexion.
Part I: The Foundation of Herbal Oils
Understanding the Carrier Oil
The carrier oil is the “vehicle” for your herbs. It provides the base of the infusion and contributes its own unique fatty acids and vitamins to the final product. Choosing the right carrier oil depends on your skin type and the intended use of the oil.
- Jojoba Oil: Technically a liquid wax, jojoba closely mimics human sebum. It is non-comedogenic (won’t clog pores) and has an incredibly long shelf life. It is ideal for facial oils and scalp treatments.
- Sweet Almond Oil: A classic choice for body massage. It is rich in Vitamin E and absorbs at a medium pace, allowing for enough “glide” during massage without leaving a heavy residue.
- Fractionated Coconut Oil (MCT): Unlike raw coconut oil, this remains liquid at room temperature. It is odorless, colorless, and very light, making it a perfect base for “dry” body oils or roll-on perfumes.
- Extra Virgin Olive Oil: A powerhouse of antioxidants. While it has a strong scent and a heavier feel, it is unparalleled for healing salves, deep tissue muscle oils, and treating extremely dry, cracked skin.
- Grapeseed Oil: An astringent, lightweight oil that is perfect for those with oily or acne-prone skin. It absorbs almost instantly.
- Rosehip Seed Oil: Often used as a secondary carrier (20-30% of the blend), it is prized for its high Vitamin A (retinol) content and ability to regenerate skin tissue.
Selecting Your Herbs
The quality of your infusion depends entirely on the quality of your botanicals.
- Dry vs. Fresh: For beginners, dried herbs are highly recommended. Fresh herbs contain water, and water is the enemy of oil preservation. If you use fresh herbs, they must be wilted for 24 hours to reduce moisture, or you run a high risk of mold growth.
- Organic and Sustainably Sourced: Since the oil will penetrate your skin and enter your bloodstream, always choose organic herbs to avoid pesticide residues.
Part II: The Three Methods of Infusion
1. The Solar Method (The Slow Path)
This is the traditional, folk method that relies on the gentle warmth of the sun and the passage of time.
- Process: Fill a sterilized glass jar half-full with dried herbs. Pour your carrier oil over the herbs until they are submerged by at least two inches. Seal the jar tightly.
- Duration: Place the jar in a warm, sunny windowsill for 4 to 6 weeks. Shake the jar daily to ensure the herbs are consistently saturated.
- Best For: Delicate flowers like Calendula, Rose, and Chamomile.
2. The Double Boiler Method (The Quick Path)
When you need your oil immediately, controlled heat can accelerate the extraction process.
- Process: Place your herbs and oil in the top of a double boiler. Fill the bottom pot with water. Simmer on the lowest possible heat setting.
- Duration: Heat for 3 to 5 hours. The oil should never smoke or bubble; you want a gentle “steeping.”
- Best For: Roots, barks, and resins like Ginger, Comfrey root, or Frankincense.
3. The Slow Cooker Method (The Modern Path)
This provides a middle ground, offering consistent, low heat over a longer period.
- Process: Place your jars (filled with herbs and oil) inside a slow cooker. Add water to the slow cooker until it reaches halfway up the sides of the jars. Set to “Warm” or the lowest setting.
- Duration: Leave for 24 to 48 hours.
- Best For: Bulk batches and deep tissue oils.
Part III: The Herbal Apothecary – Ingredient Profiles
Before we dive into recipes, it is essential to understand the “personalities” of the herbs we will be using.
- Calendula (Calendula officinalis): The “Mother of the Skin.” It is anti-inflammatory, antimicrobial, and promotes collagen synthesis. It is the gold standard for scars, rashes, and sensitive skin.
- Lavender (Lavandula angustifolia): Beyond its famous scent, lavender is a powerful nervine (calms the nervous system) and a cicatrisant (cell regenerator).
- Arnica (Arnica montana): A must-have for physical recovery. It increases local circulation and reduces swelling. Note: Never use on broken skin.
- Comfrey (Symphytum officinale): Often called “knitbone,” it contains allantoin, which speeds up the healing of connective tissue and skin cells.
- Rosemary (Salvia rosmarinus): A circulatory stimulant. In hair care, it encourages growth; in body care, it clears mental fog and eases tired muscles.
- St. John’s Wort (Hypericum perforatum): When infused, the oil turns a brilliant ruby red. It is specifically used for nerve pain, sciatica, and soothing minor burns.
- Chamomile (Matricaria chamomilla): The ultimate soothing herb. High in azulene, it reduces redness and calms irritation.
Part IV: Recipes for Physical Relief and Recovery
1. The “Deep Tissue” Muscle Melt Oil
This oil is designed for post-workout recovery or chronic tension in the neck and shoulders.
- Ingredients:
- 1/2 cup Dried Arnica Flowers
- 1/4 cup Dried Comfrey Leaf
- 1/4 cup Dried Ginger Root (cut and sifted)
- 2 cups Extra Virgin Olive Oil
- Optional: 10 drops Wintergreen Essential Oil (added after straining)
- Method: Use the Slow Cooker Method for 24 hours. The Ginger provides a warming sensation that increases blood flow, while Arnica and Comfrey work on the deeper tissues.
- Usage: Massage into sore muscles using firm, circular strokes.
2. The “Nerve Soother” St. John’s Wort & Magnesium Blend
Ideal for those struggling with restless legs or lower back discomfort.
- Ingredients:
- 1 cup Dried St. John’s Wort (buds and flowers)
- 1.5 cups Sweet Almond Oil
- 1/2 cup Magnesium Oil (added at the time of application)
- Method: Solar Infusion for 6 weeks to ensure the hypericin is fully extracted.
- Ritual: Shake the bottle. Mix a palm-full of the infused oil with a few sprays of magnesium oil and rub into the soles of the feet before bed.
3. Joint Support Warming Oil
For those with stiff joints, particularly during cold or damp weather.
- Ingredients:
- 1/2 cup Dried Turmeric Slices (or coarse powder)
- 1/4 cup Cayenne Pods (crushed)
- 2 cups Sesame Oil (Traditional in Ayurveda for its warming properties)
- Method: Double Boiler Method for 4 hours.
- Caution: The cayenne can be spicy; avoid touching eyes after application. This oil may stain light-colored clothing due to the turmeric.
Part V: Recipes for Radiant Skincare
4. The “Golden Glow” Face Oil
A luxurious, non-greasy oil that restores the skin’s moisture barrier.
- Ingredients:
- 1/2 cup Dried Calendula Petals
- 1/4 cup Dried Chamomile Flowers
- 1 cup Jojoba Oil
- 1/2 cup Rosehip Seed Oil (added after infusion)
- Method: Solar Infusion for 4 weeks.
- Benefit: The Calendula and Chamomile soothe redness, while Jojoba and Rosehip provide essential fatty acids that mimic the skin’s natural oils.
5. Blue Tansy & Lavender Night Repair
A potent oil for overnight cellular regeneration and calming inflammation.
- Ingredients:
- 1/4 cup Dried Lavender Buds
- 1/4 cup Dried Cornflowers (for antioxidants)
- 1.5 cups Squalane Oil (derived from olives)
- 5 drops Blue Tansy Essential Oil (added after straining)
- Method: Cold Maceration (place in a dark cupboard for 4 weeks).
- Ritual: Apply 3-4 drops to damp skin after cleansing. The scent helps signal to the brain that it is time for sleep.
6. The “Ageless” Rose & Hibiscus Infusion
Hibiscus is often called “the Botox plant” due to its high Vitamin C and AHA content which helps with skin elasticity.
- Ingredients:
- 1/2 cup Dried Rose Buds
- 1/4 cup Dried Hibiscus Petals
- 1.5 cups Apricot Kernel Oil
- Method: Double Boiler Method on the lowest setting for 3 hours.
- Note: The oil will take on a beautiful pink hue. Use this as a base for a facial Gua Sha ritual.
Part VI: Recipes for Hair and Scalp Health
7. Crown Chakra Growth Stimulant
Focuses on increasing circulation to the follicles and strengthening the hair shaft.
- Ingredients:
- 1/2 cup Dried Rosemary
- 1/4 cup Dried Nettle Leaf (Rich in silica and sulfur)
- 1/4 cup Horsetail Herb
- 2 cups Castor Oil mixed with Grapeseed Oil (50/50 ratio)
- Method: Slow Cooker Method for 48 hours.
- Ritual: Warm the oil slightly. Apply to the scalp and massage for 10 minutes using the “inversion method” (tilting the head down). Leave for at least an hour before washing.
8. The “Lustre” Hair Smoothing Oil
For dry, frizzy, or sun-damaged hair.
- Ingredients:
- 1/2 cup Dried Marshmallow Root (Provides “slip”)
- 1/4 cup Dried Elderflowers
- 1.5 cups Argan Oil
- Method: Solar Infusion for 4 weeks.
- Usage: Rub 2 drops between palms and smooth over the ends of dry hair to seal the cuticle and add shine.
Part VII: Recipes for Emotional Wellness and Spirit
9. The “Grounding Cord” Root Chakra Oil
For times of high anxiety, scattered thoughts, or feeling “unplugged.”
- Ingredients:
- 1/4 cup Dried Cedarwood chips
- 2 tablespoons Dried Patchouli Leaf
- 1 tablespoon Roasted Coffee Beans (for grounding aroma)
- 1.5 cups Sesame Oil
- Method: Solar Infusion for 6 weeks.
- Ritual: Apply to the soles of the feet and the base of the spine. Visualize roots growing from your body into the earth.
10. The “Solar Plexus” Joy Oil
A bright, uplifting blend for gray days or seasonal affective struggles.
- Ingredients:
- 1/2 cup Dried Calendula
- Peel of 2 Organic Oranges (completely dried)
- 1/4 cup Lemon Balm
- 1.5 cups Sunflower Oil (The plant of the sun)
- Method: Double Boiler Method for 3 hours.
- Benefit: The citrus scent and the golden color of the herbs work through aromatherapeutic and color-therapeutic pathways to lift the mood.
11. “Third Eye” Meditation Oil
Used to transition the mind from the mundane to the sacred.
- Ingredients:
- 1/4 cup Mugwort (Associated with dreams and intuition)
- 1/4 cup Dried Sage
- 1 tablespoon Frankincense Tears (Resin)
- 1 cup Fractionated Coconut Oil
- Method: Heat infusion (Double Boiler) is necessary here to melt the resins into the oil.
- Usage: Dab on the temples and the space between the eyebrows before meditation or journaling.
Part VIII: Advanced Techniques and Customization
The Art of Double Infusion
If you want an exceptionally potent oil, you can perform a “double infusion.” After you have strained your first batch of oil, do not bottle it yet. Instead, add a fresh batch of dried herbs to that same oil and repeat the infusion process. This doubles the concentration of plant constituents without increasing the volume of the oil.
Incorporating Essential Oils
While herbal infusions (fixed oils) contain many properties of the plant, they are not as concentrated as essential oils. You can “spike” your infusions with essential oils to enhance the scent and therapeutic profile.
- General Rule: Use a 1% dilution for face oils (6 drops per ounce) and a 2-3% dilution for body oils (12-18 drops per ounce).
Vitamin E as a Stabilizer
To prevent your oils from going rancid, add a few drops of T-50 Vitamin E oil after the infusion is cooled and strained. This acts as an antioxidant, extending the shelf life by several months.
Part IX: The Straining and Bottling Process
This is the most critical stage for ensuring the longevity of your self-care products.
- The First Strain: Use a fine-mesh stainless steel strainer to remove the bulk of the herbs.
- The Fine Strain: Line the strainer with several layers of cheesecloth or a clean nut milk bag. Squeeze the herbs firmly to extract every last drop of “liquid gold”—the most potent oil is often trapped within the plant material.
- Settling: Let the oil sit in a tall glass jar for 24 hours. Any remaining fine sediment or moisture will settle at the bottom.
- The Final Pour: Carefully pour the clear oil into sterilized, dark amber or cobalt glass bottles, leaving the sediment behind.
- Labeling: This is often overlooked. Label your oil with the date, the carrier oil used, and the herbs included. Most herbal oils will stay fresh for 6 to 12 months if stored in a cool, dark place.
Part X: Integrating Herbal Oils into Your Daily Rituals
Self-care is not just about the product; it is about the presence you bring to the application.
The Ayurvedic Abhyanga (Self-Massage)
Abhyanga is the practice of massaging the body with warm herbal oil. It is said to balance the doshas, improve lymphatic drainage, and calm the nervous system.
- How to do it: Warm your chosen herbal oil in a small bowl. Start at your extremities and work toward your heart. Use long strokes on the limbs and circular strokes on the joints. Spend extra time on the ears and the scalp. Leave the oil on for 15 minutes before taking a warm shower.
Ritual Bathing
Add two tablespoons of your “Golden Glow” or “Lavender Repair” oil directly to a warm bath. The hot water helps the oil penetrate the skin while the herbal aromas are released through the steam.
Gua Sha and Facial Massage
Using a stone tool (like jade or rose quartz) over your homemade face oil helps move stagnant lymph and contour the face. The oil provides the necessary “slip” so the tool doesn’t pull on delicate skin.
Part XI: Troubleshooting and Common Mistakes
- My oil smells “off”: This usually means the oil has gone rancid or moisture was introduced. If it smells like old crayons, discard it.
- The oil is cloudy: This is often a sign of moisture. You can try to gently heat the oil to evaporate the water, but if you see fuzzy spots, it is mold.
- The scent isn’t strong enough: Remember that herbal infusions are subtle. They smell like the whole plant (earthy, green, hay-like), not just the flower. If you want a “perfume” scent, you must add essential oils.
- My skin is breaking out: You may be using a carrier oil that is too heavy for your skin type. Switch from Olive or Coconut oil to Grapeseed or Jojoba.
Part XII: The Ethics of Herbalism
As you embark on your journey of making herbal oils, consider your relationship with the plants.
- Wildcrafting: If you harvest your own herbs (like Dandelion or St. John’s Wort), never take more than 10% of a stand. Ensure you are not in a chemically sprayed area.
- Gratitude: Many traditions suggest offering a word of thanks or a small gesture when harvesting or beginning an infusion. This acknowledges the life force of the plant you are utilizing for your healing.
Conclusion: Becoming Your Own Apothecary
The journey of making herbal oils is a transition from consumer to creator. When you massage a Calendula oil you made with your own hands into your skin, you are participating in a lineage of healing that stretches back thousands of years. You know exactly what is in your bottle—no fillers, no synthetic preservatives, just the concentrated intelligence of nature.
Start small. Choose one herb that resonates with your current needs. Perhaps it is Lavender for the stress of a busy job, or Arnica for the tension of an active lifestyle. As you watch the oil change color on your windowsill or feel the warmth of the double boiler, you are not just making a product; you are cultivating a deeper connection to the rhythms of the earth and the needs of your own body. This is the essence of true self-care.